
How to Sanitize Your Pedicure Tools Properly: A Step-by-Step Home Guide
Disclosure: This post contains affiliate links. If you make a purchase through these links, we may earn a small commission at no extra cost to you.
To sanitize pedicure tools at home effectively, you must follow a three-step process: cleaning, disinfecting, and storing. First, wash tools with warm, soapy water to remove physical debris. Second, submerge non-porous tools (like stainless steel cuticle nippers) in 70% isopropyl alcohol or a hospital-grade disinfectant for at least 10 minutes. Finally, dry them completely and store them in a clean, breathable environment.
Why Your Tool Hygiene Matters
We’ve all been there—finally finding a quiet 15-minute window after the kids are in bed or the workday has finally wound down to give our feet some much-needed attention. It is tempting to grab your favorite electric foot file or cuticle nipper and get straight to work.
However, using tools that haven't been properly cleaned can lead to the spread of bacteria or fungal infections. This guide is for the busy home-spa enthusiast who wants professional-level safety without the stress. Keeping your kit clean isn't just about "being tidy"; it’s a vital part of your Foot Health Science routine that ensures your self-care stays restorative, not risky.
Sanitization vs. Disinfection: What’s the Difference?
In the world of foot care, words like "clean" and "sterile" are often used interchangeably, but they mean different things for your home routine:
- Cleaning: Removing visible dirt, skin cells, and oils using soap and water. This is the essential first step.
- Disinfecting: Using chemicals (like Isopropyl Alcohol) to kill the microscopic organisms that cleaning leaves behind.
- Sterilizing: Killing all microbial life, usually requiring high-pressure steam (an autoclave). For home use, high-level disinfection is generally the gold standard.
Choosing Your Disinfectant: A Quick Comparison
When you are ready to move beyond simple soap and water, you have two primary professional-grade choices for home use.
| Method | Contact Time | Best For | Ease of Use |
|---|---|---|---|
| 70% Isopropyl Alcohol | 10 Minutes | Small kits, glass files, and stainless steel tools. | Very Easy (Pour into a small bowl) |
| Barbicide (Hospital Grade) | 10 Minutes | Large kits, frequent use, and professional-feel setups. | Moderate (Requires mixing with water) |
Step-by-Step: How to Sanitize Your Pedicure Tools at Home
1. The Pre-Wash (Don't Skip This!)
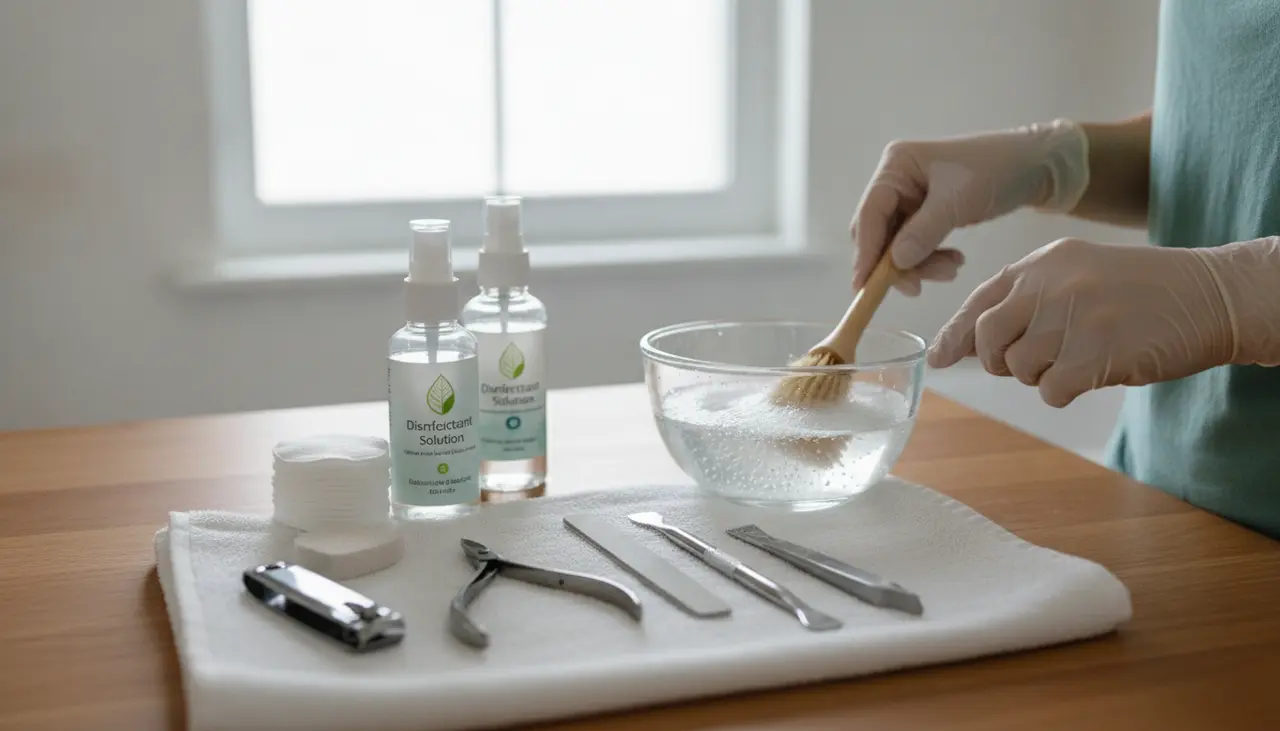
Before you can disinfect, you must clean. Scrub your stainless steel cuticle nippers, pushers, and the heads of your electric foot file with warm, soapy water. A dedicated soft toothbrush is perfect for getting into the hinges and crevices where skin cells like to hide.
2. The Deep Soak
Once your tools are rinsed and patted dry, it’s time to disinfect.
- If using Isopropyl Alcohol: Fill a small glass or tray so the tools are completely submerged. Let them sit for 10 minutes.
- If using a Barbicide Jar: Ensure you follow the manufacturer's ratio (usually 2oz concentrate to 32oz water). Submerge the metal ends of your tools for 10 minutes.
Note: Never leave your tools soaking overnight, as this can lead to rusting, even on high-quality stainless steel.
3. Drying and Storage
Bacteria love moisture. After the soak, remove your tools with clean hands or tongs and lay them on a fresh paper towel. Once they are bone-dry, store them in a clean, dry container. Avoid airtight plastic bags if there is any hint of moisture left, as this can create a breeding ground for mildew.
Best For: Matching the Method to Your Tool
- Best for Metal Tools (Nippers/Pushers): Barbicide or 70% Alcohol soak. These tools are durable and designed for chemical exposure.
- Best for Nano-Glass Files: A quick rinse with soap and a wipe-down with alcohol. Glass is non-porous and very easy to keep clean.
- Best for Porous Tools (Pumice Stones/Emery Boards): These cannot be truly disinfected. For home use, they should be cleaned with a brush and replaced frequently. If they look "clogged" or discolored, it’s time to toss them.
Common Beginner Mistakes to Avoid
- Soaking "Live" Electronics: Never submerge your electric foot file handle. Only remove the detachable roller heads for cleaning and soaking.
- Using 90% Alcohol instead of 70%: It sounds counterintuitive, but 70% isopropyl alcohol is actually more effective at killing germs because it has more water content, which helps it penetrate the cell walls of bacteria more slowly and effectively.
- Forgetting the "Hinge": Many people forget to open their cuticle nippers during the soak. Ensure the disinfectant reaches the pivot point where debris often gets trapped.
Integration Into Your Routine
Once your tools are prepped and safe, you can confidently move into your actual maintenance. If you are short on time, knowing your tools are already clean makes it much easier to jump into a How to Give Yourself a 15-Minute Pedicure: The Busy Person’s Guide to Smooth Heels.
After you've finished your exfoliation and tool work, don't forget to lock in that moisture. Many of our readers find that using Top 5 Moisturizing Socks for Overnight Repair is the perfect "set it and forget it" follow-up to a fresh, clean pedicure.
Frequently Asked Questions
How often should I sanitize my tools? Ideally, after every single use. If you are the only person using the tools, you might be tempted to skip a session, but skin cells and moisture can grow bacteria quickly between uses.
Can I use boiling water instead of chemicals? While boiling water can kill many germs, it isn't as reliable as chemical disinfection for certain types of fungi, and it can eventually dull the sharp edges of your high-end steel tools.
What should I do if my tools start to rust? If you see signs of oxidation or rust, it is usually best to replace the tool. Rust can harbor bacteria and may indicate that the protective plating of the tool has been compromised. To prevent this, always dry your tools immediately after their 10-minute soak.